Overview
The following guide will show you how to:
- Connect Fiber to a database of your choice
- Create a Shopify "sync" using the dashboard
- Register a user account for syncing
- See the data show up in the database
Getting started – the Fiber dashboard
You'll need a Fiber account to complete this guide.
1. Create a destination
A destination object points to a database or blob storage that Fiber can write API data into.
Creating a destination is easy:
- Click the “New Destination” button in your workspace. A dialog will pop up.
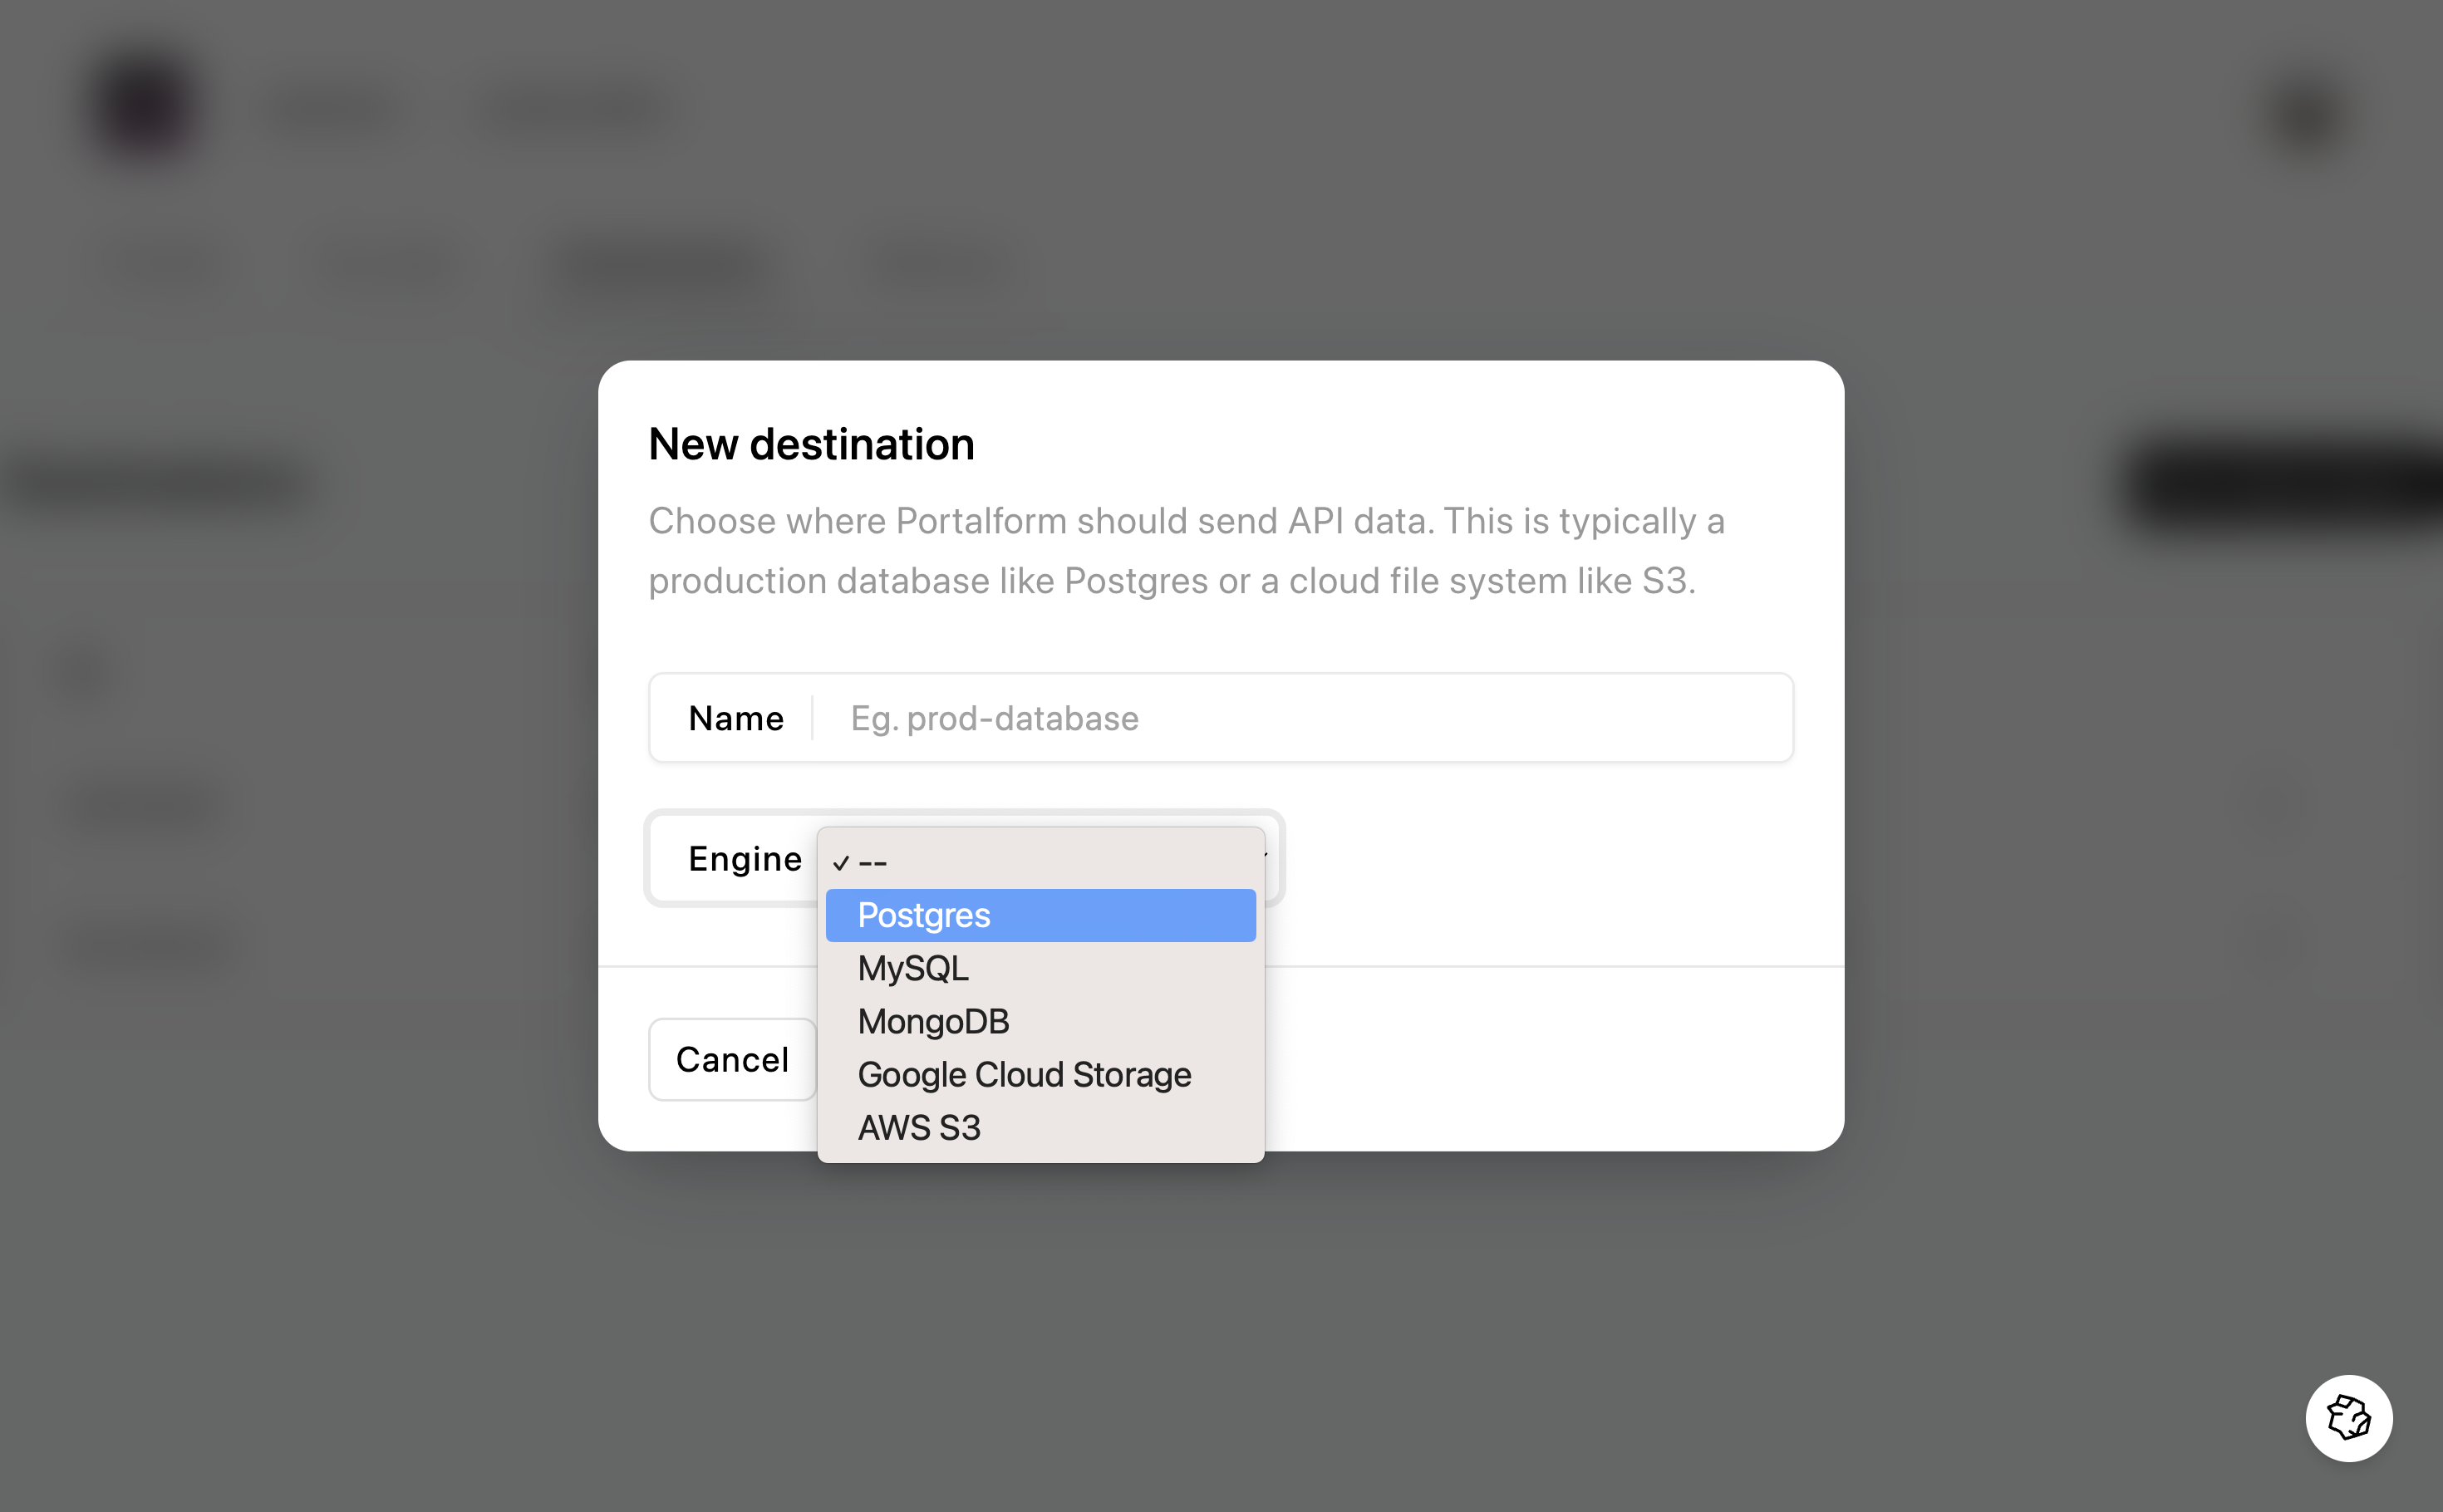
- Choose a database name. Only lowercase alphanumeric and underscore characters are allowed.
- Select “Postgres” as the database engine.
- Paste a connection string in the following format:
postgres://user:password@host:port/database
We recommend creating a separate Postgres user with a limited scope to share with Fiber. Click to learn how.
- Click “Check connection”. Fiber will make sure that it can access a database using the connection string you specified. If everything works, a new button will appear.
- Finally, click the “Create destination” button.
2. Create a source
Next we will create a source in your workspace to pull data from Shopify:
- Click the “New Source” button inside the Sources page. A dialog will pop up.

- Click the dropdown to select “Shopify” as the source provider. New inputs will appear asking you for more information.
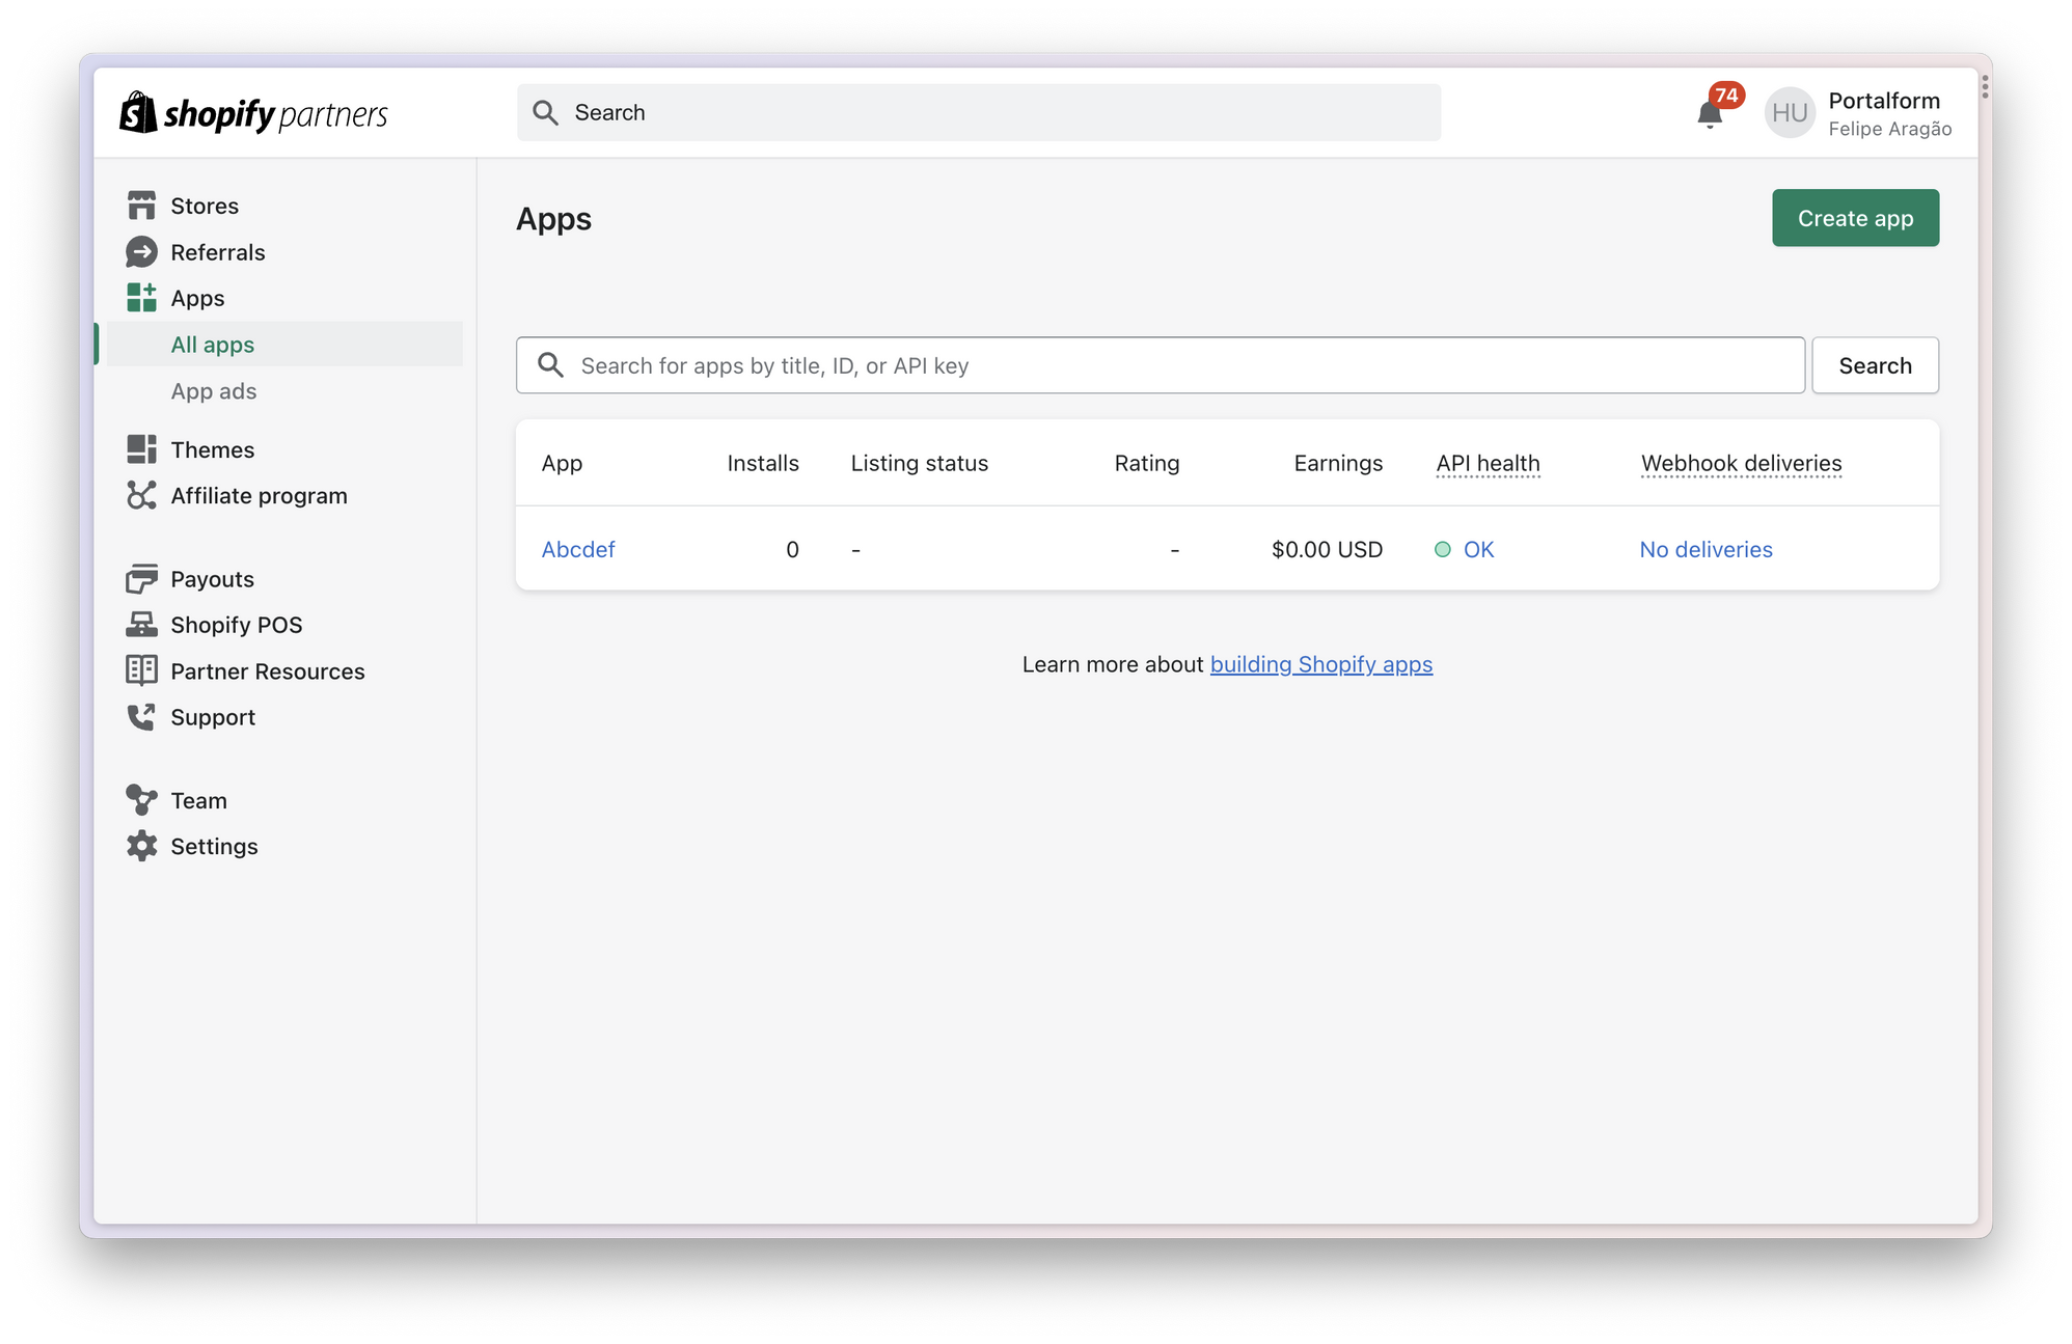
- Paste the client ID and client secret of your Shopify app.

- Click “Verify Credentials”. Fiber will check that your id and secret values are valid.
- Finally, click the “Create Source” button.
3. Create a sync
Now that you have a source and a destination, you can create a sync connecting the two.
- Click the “New Sync” button inside your Syncs page. A dialog will pop up.
- Choose a name for your sync. You must use lowercase characters and underscores. A simple "shopify" will do.
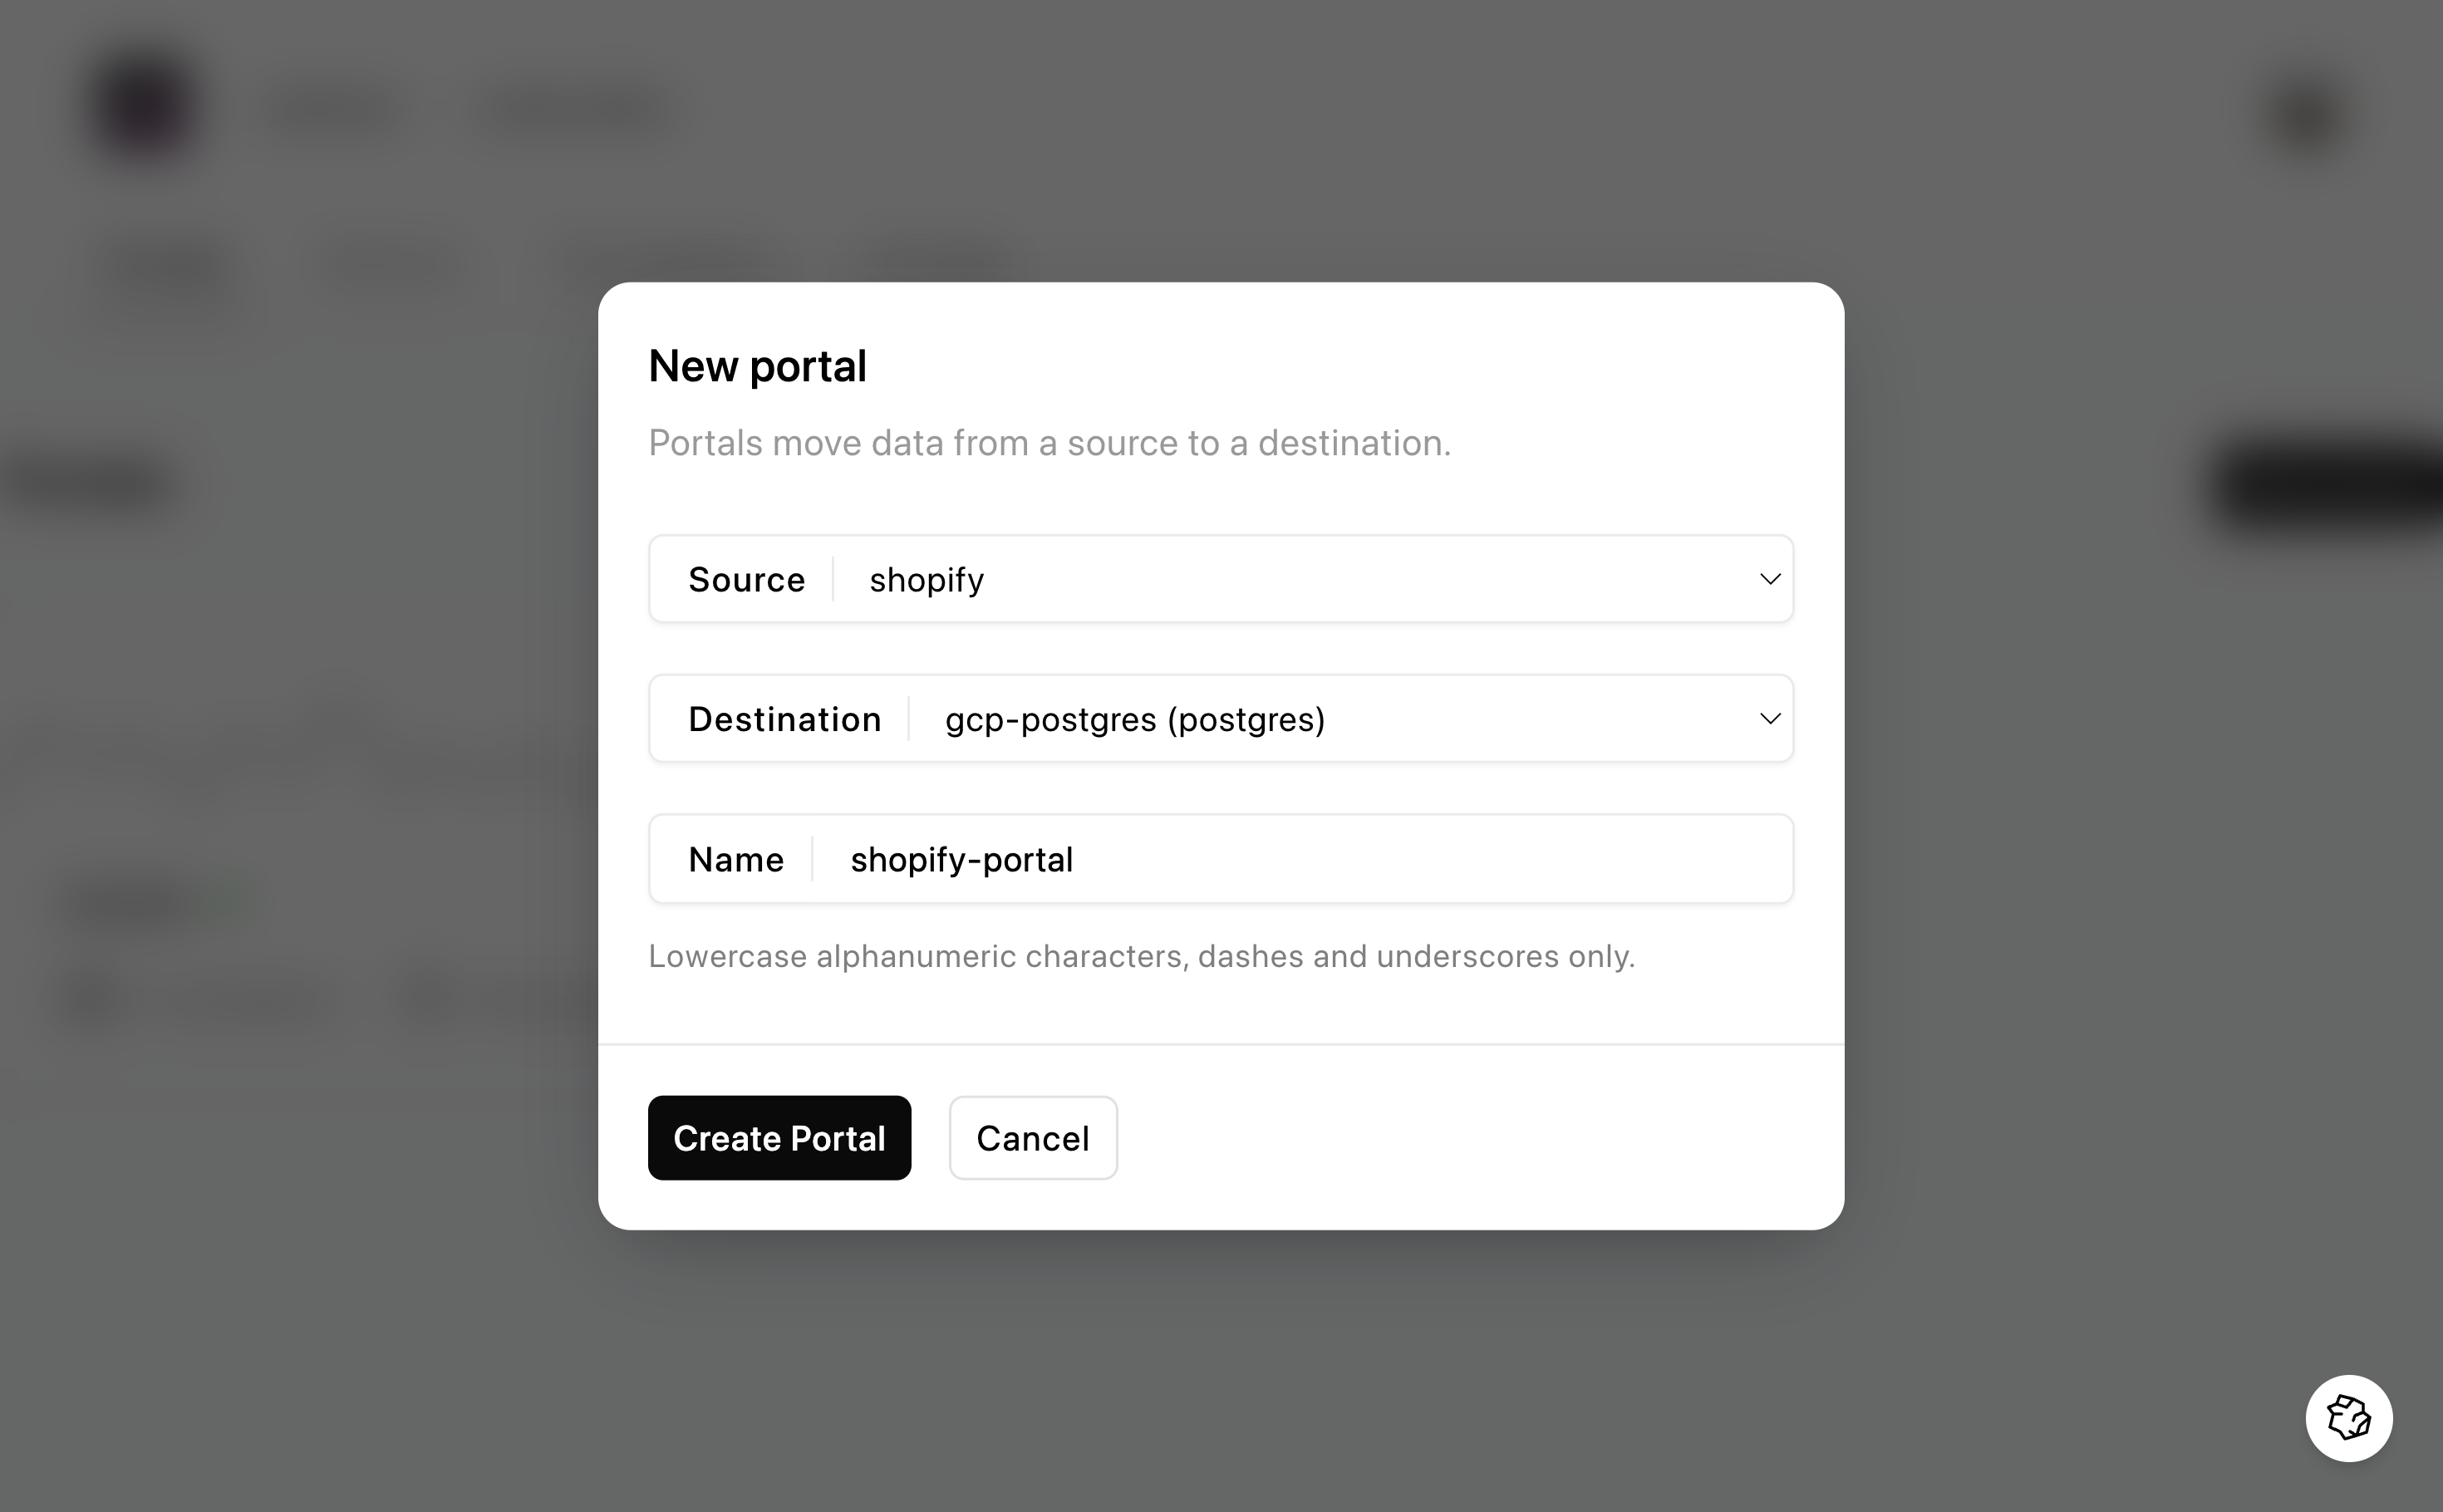
- Use the two dropdown menus to choose the source and destinations we just created.
- Click “Create sync”. You will be directed to the Overview tab of your new sync.

4. Create collections
Now it’s time to choose what types of data you want out of Shopify. You can do that by creating a Collection for each resource you want to load.
- From the sync Overview page, click the “Collections” tab.
- Click the “New Collection” button. A dialog will show up.
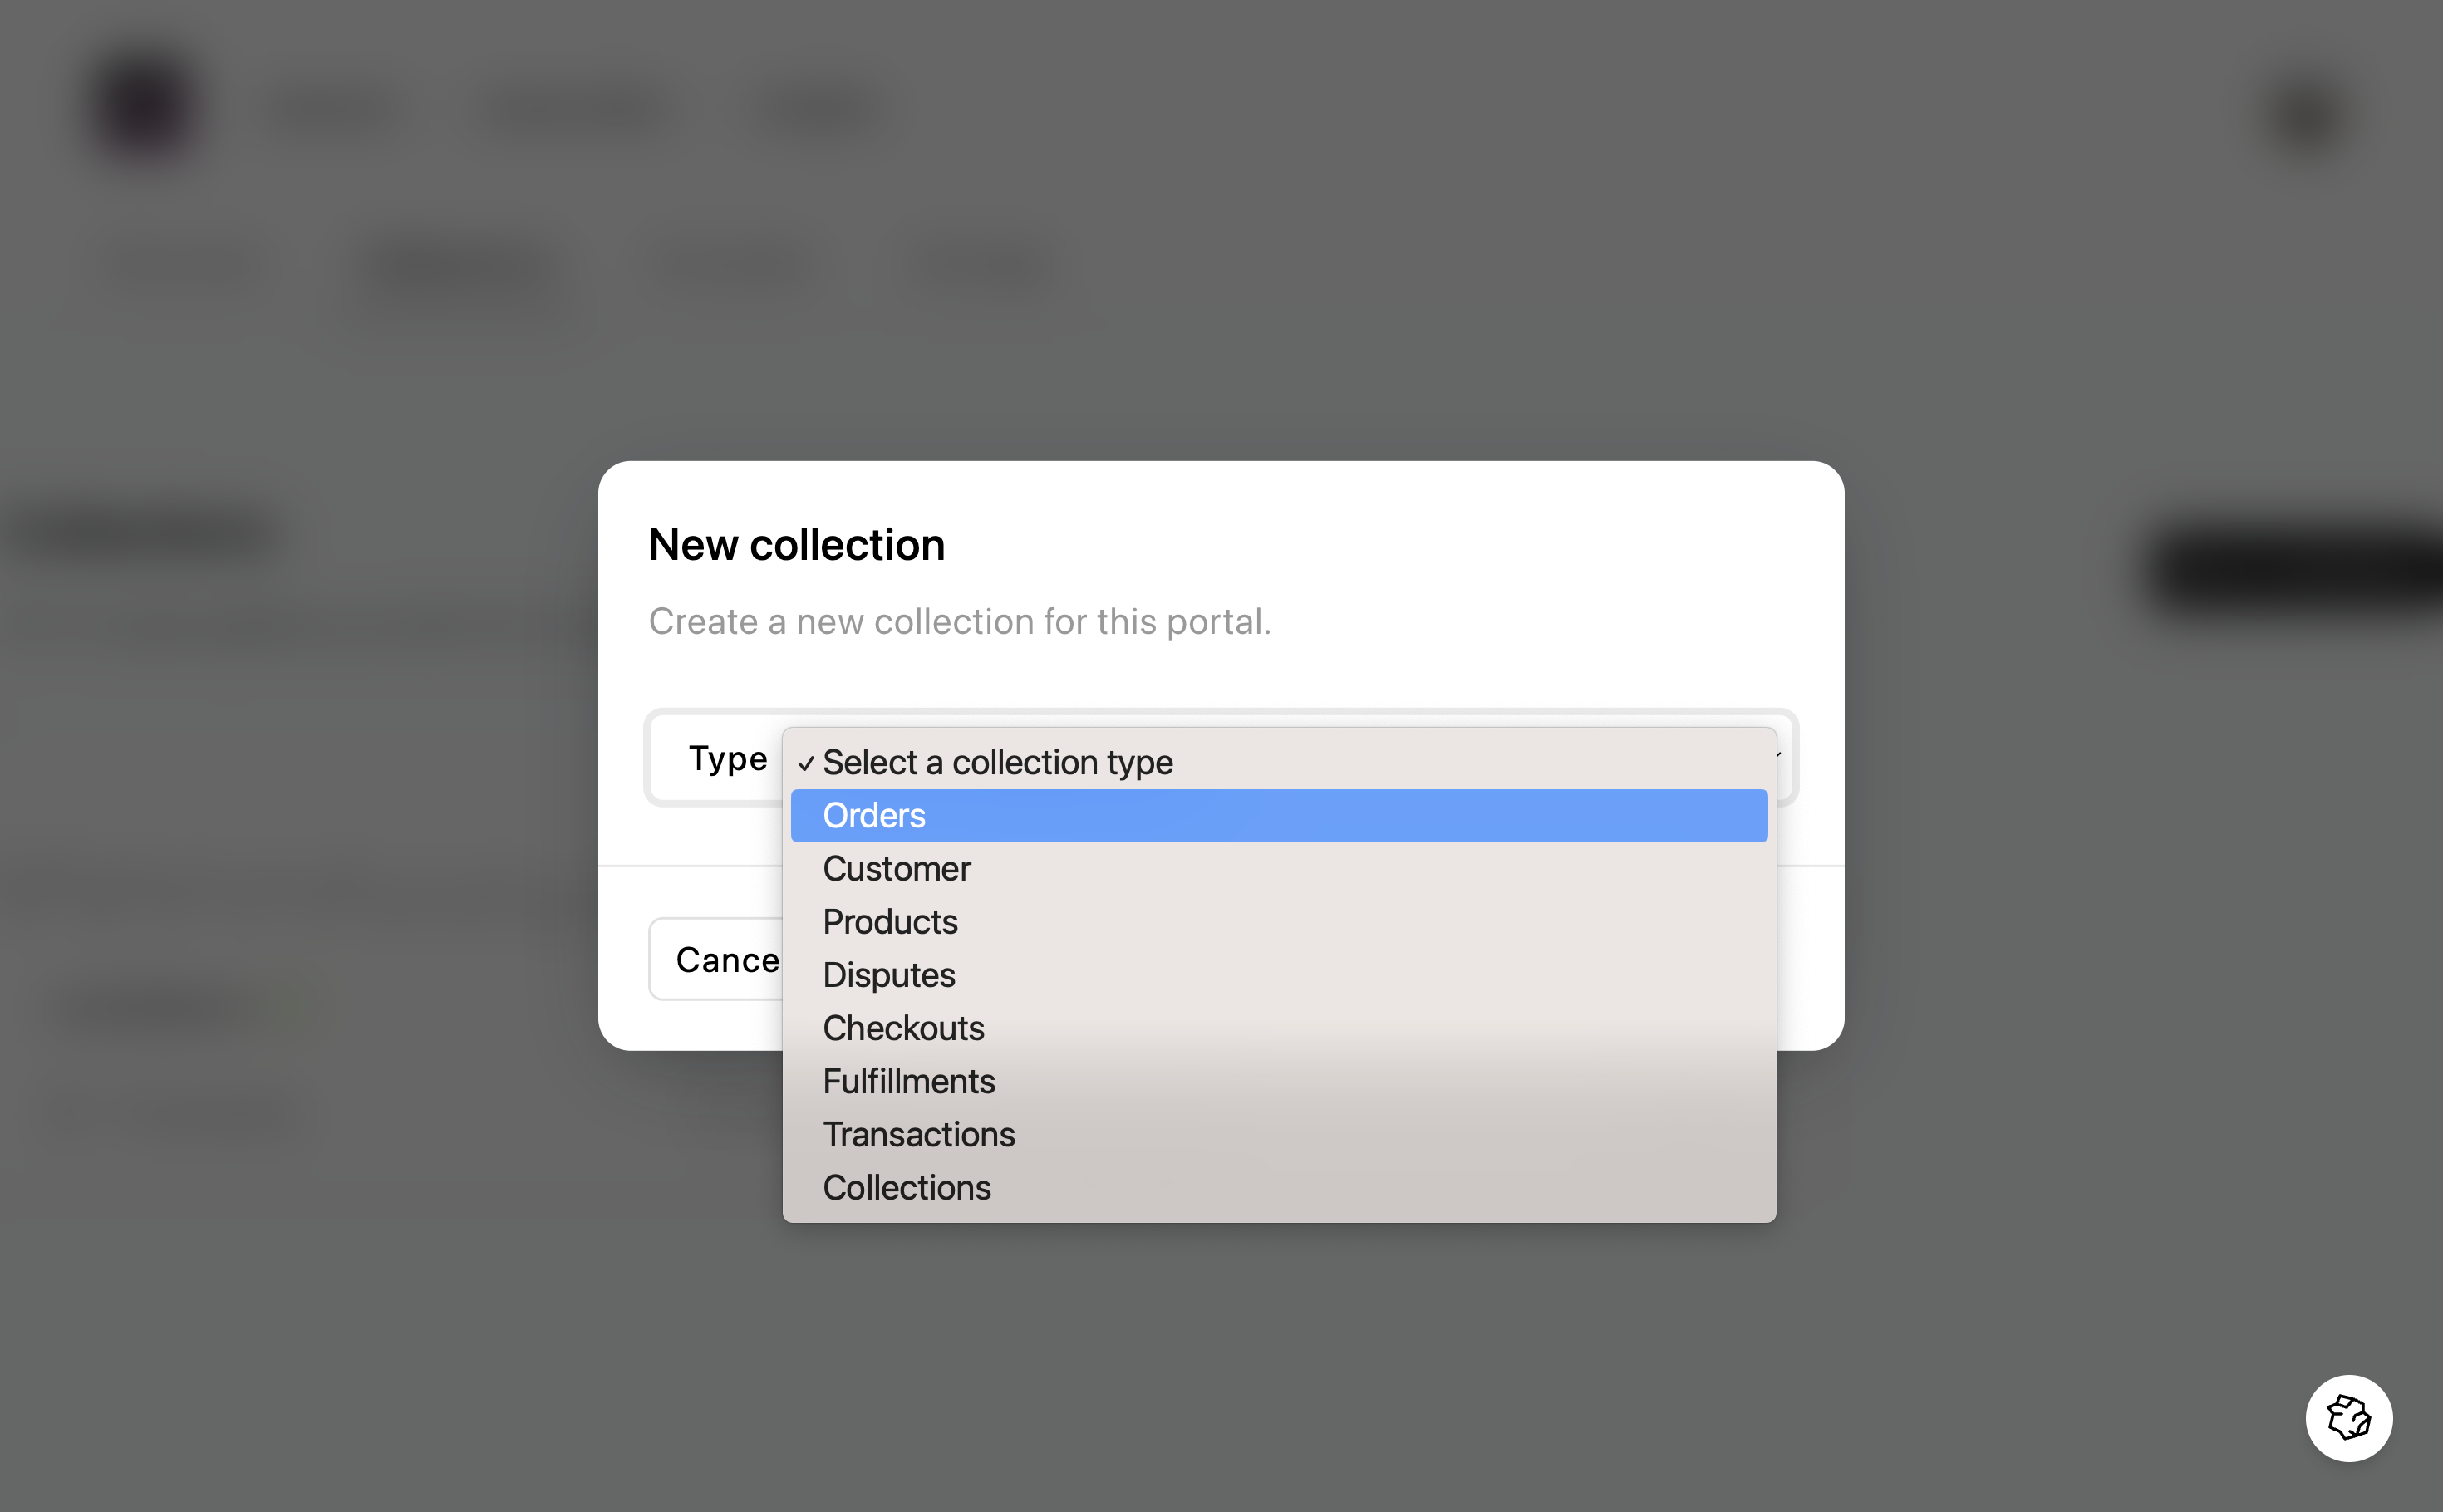
- Use the dropdown to choose “Orders”.
- Click “Mount collection”. Fiber will now try to create the “shopify_orders” table inside your Postgres database.
- Once the collection is mounted successfully, you’ll be redirected to the new collection pa
5. Add a Shopify account
You’re now ready to get some data flowing through your sync. All you need now is a Shopify account to pull data from.
There are three ways to add a new Shopify account to an existing sync:
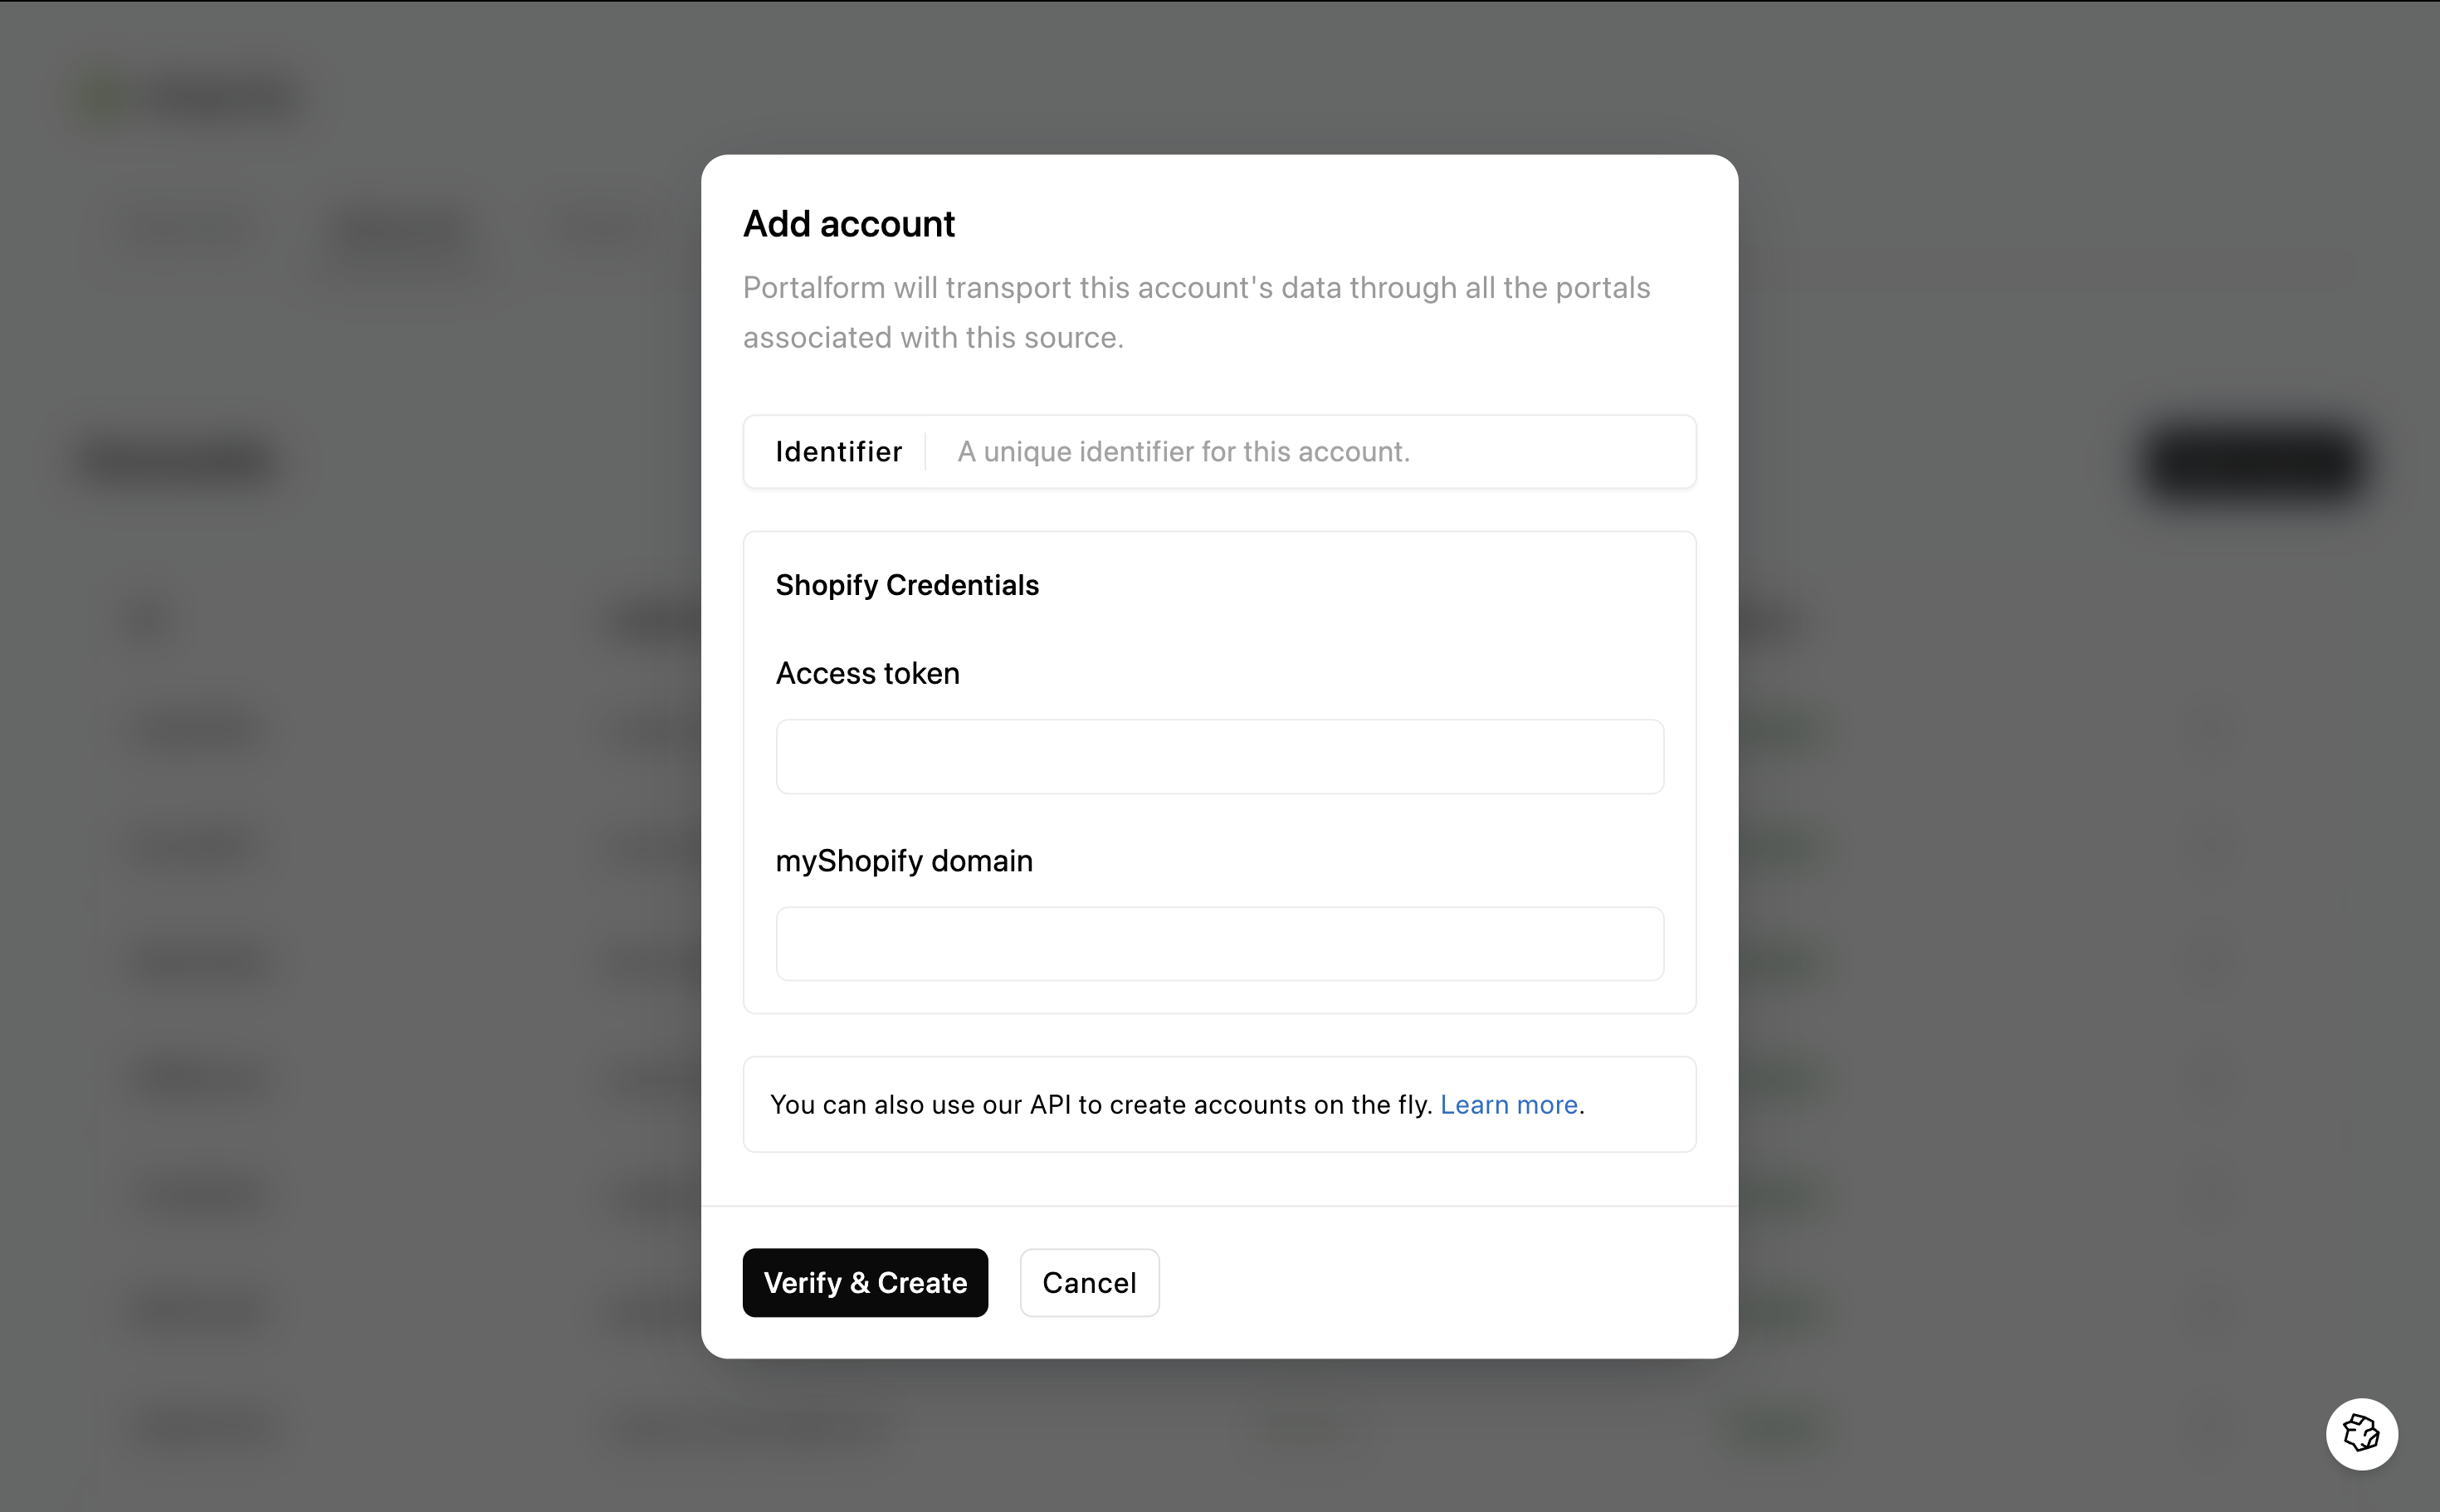
- Via the dashboard
- Via an API call
- By setting up a Link page
Today we’ll use the API method.
API call
Make the following request, replacing the credential placeholder with value ones:
curl -X POST \
  https://api.fiber.dev/sources/:sourceName/accounts \
  -H 'Content-Type: application/json' \
  -H 'Authorization: Basic base64(CLIENT_ID:CLIENT_SECRET)' \
  -d '{
    "credentials": {
      "myShopifyDomain": "EXAMPLE.myshopify.com",
      "accessToken": "ACCESS_TOKEN",
    },
  }'
Refer to our API Reference to learn more about authentication.
For most supported sources (including Shopify), Fiber will attempt to validate the credentials you pass. That may cause these requests to longer than usual, so be prepared for that.
On success, the new account will be attached to your sync:
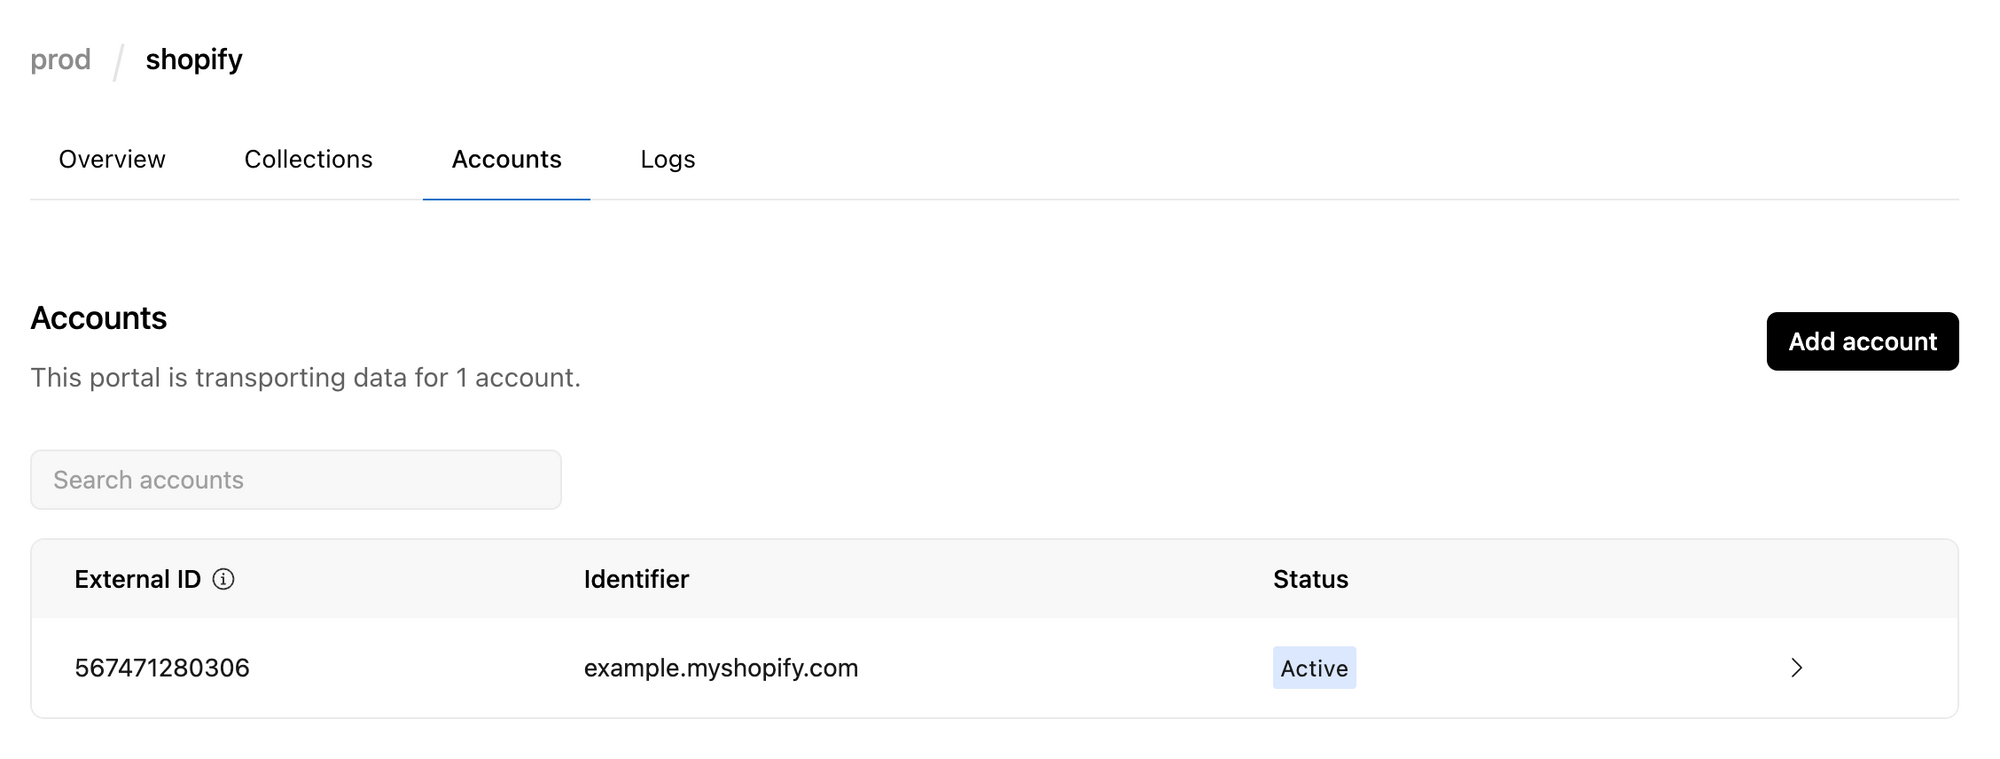
The “accounts” tab of the Shopify sync after you register a valid store.
Within two minutes, Fiber will start loading orders from this store into your database.
In the Overview tab, you will see new activity:

Your sync Overview tab after you register your first Shopify account.
What’s next?
Congratulations! You have successfully set up your first integration using Fiber. From here, you can continue to customize your app by adding more sources, destinations, and syncs.